Visitors to this site:

Monday, April 30, 2018

All Cleaned Up and No Place to Go

Today we drove back to the Red Bay factory from Fulton, MS.  It is about 29 miles and an easy drive.  When we arrived, we went in search of our RV and it was the first one we checked.  Helped having seen the paint scheme.

At the RV there were 5 guys working on it fixing various things and testing others.


The outside was totally opened up.  All compartments were open, covers removed, everything was being checked.


I walked around the RV just to see everything and noticed how shiny the paint job is.  You can even see a clear reflection in it of the construction going on for the new engineering building! 


The last item to be installed here was the outside TV.  Earlier the awnings, slide toppers, power steps, and Tiffin emblems were added.  I did find a few things for the inspectors to add to the report and for the guys to fix.  There was a blemish on one cabinet that could only be seen sitting in a certain chair. a face piece over some electronics was on crooked, the passenger side mirror wasn't aligned and a few other things like that.  Fortunately, nothing major really!  Once the inspectors and finish team left, it was time for the cleaners to work their magic.


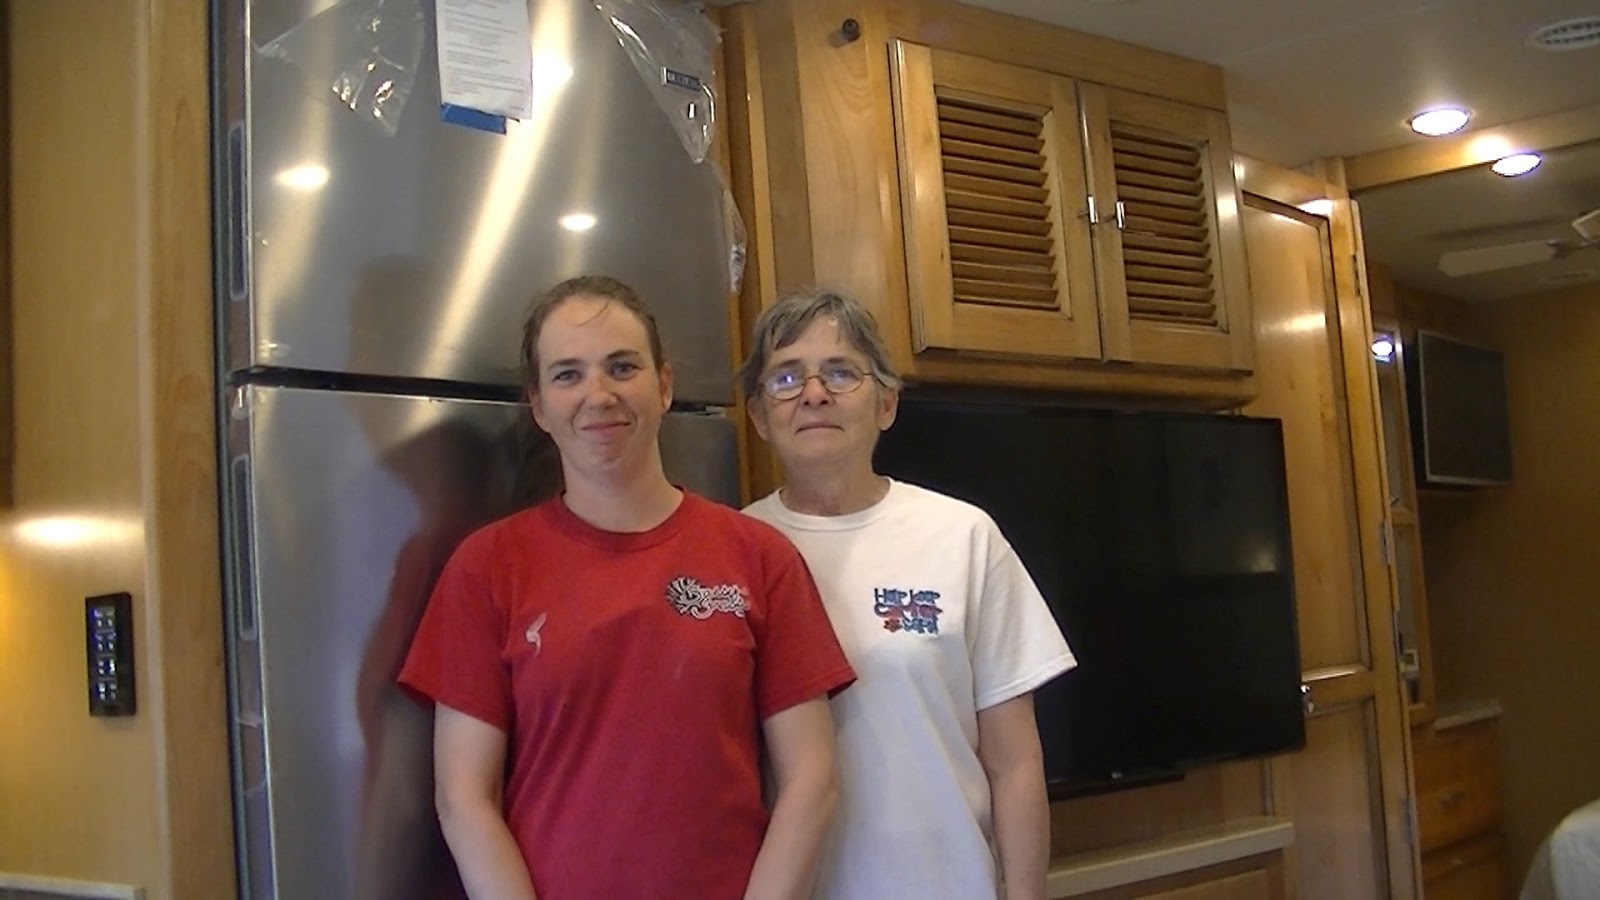
So Rachel and Myra, the cleaners, came inside and got right to it.  These ladies could give lessons on how to clean an RV and what to use!  I joked that I was going to have them come out every 6 months to clean the RV.  Myra said she'd love to at $18 per hour.  Of course, we'd need to get a bunch of RVs in the Vancouver, WA area to make it cost effective!  Any takers?

She also showed us the products they use to clean.  We've made a note of them for future use.  In case you are interested, here they are:


This is what they use to remove any black marks on the floor, dash, and other vinyl surfaces.


This is recommended for cleaning the counter tops.  As you will see in the next picture, it leaves a nice shine.


And this is recommended for cleaning windows and anything else like cabinets, microwave outside, refrigerator doors, etc.  It supposedly leaves no streaks.  These are a bit on the expensive side according to Myra, but makes the job easier.  And since she does 3 or 4 coaches a day, she should know!

Tonight we are having dinner with a guy who ordered a Phaeton.  It was being manufactured at the same time ours was but he could not be there.  So I took about 100+ pictures for him and at dinner he is going to copy them onto his computer.

Then tomorrow we start the journey home.  We actually could stay one more day for the last few steps, but we are happy with all that we saw during the build, painting, and inspection/cleaning.  I don't think there is much more to be learned and we want to get going home.  It is almost 2,500 miles back.  The weather may include some thunderstorms over the plains which means we have to be alert for tornadoes.  And there is snow falling now in the Rockies.  So it could be an interesting trip.  I'll blog more on each day of the trip home, but for now, we say good bye to Red Bay and Kelvin, our new RV.  Will see him soon, probably around the end of May.

Friday, April 27, 2018

Let me make this perfectly clear....

Today I am actually documenting what happened on Tuesday.  Unfortunately, I have had a cold the past few days and was not combat ready, so didn't feel like blogging.

Anyway, we arrived at the Belmont paint facility around 8:30.  Our RV actually went into the "Stripe Repair" station earlier in the morning, but we didn't see a reason to go in real early.  Would have been nice to watch them pull off the stencil pattern for the stripes though.

Anyway, when we arrived it was inside the bay where they repair the stripes.  There were a number of areas that they touched up with the sprayers.  The windows to this booth were splattered with paint, so pictures didn't really come out well at all.


Here the bay doors are opened and they are ready to drive the RV out to the next station.  They have already removed the covering over the front window so they can see where they are going.


There was one last minute touch-up on the white color before it came out.


Here it is being driven out of the stripe repair bay and to the next station.


This station is to get the RV ready for the clearcoat.  First, the paint job is inspected.  The inspector above is marking areas to be fixed with blue tape.  He goes over the entire pain job!  You can see two real small fixes tagged to his left.  


As part of the prep, workers use razor blades and go along the boundary of each color to clean up any adhesive from the tape or stencil.  If they didn't do this, the adhesive would end up being under the clear coat and almost impossible to fix later.


One of the areas the inspector found was repaired but still not up to his standards, so he grabbed the equipment and fixed it himself!


Now it is being driven into the clearcoat bay.  All windows and other non-painted surfaces are covered or taped so they are not clearcoated.


Here you can see the workers wearing their space suits as they spray clear coat on the RV.  They seemed to go over each area several times.


Next, after the clear coat is applied, the RV is driven into the oven.  The oven is actually physically connected to the exit of this bay so that no foreign particles can get on the clearcoat.  In the oven, the RV will be baked at a temperature of 160 degrees for one hour to dry the clear coat.

We didn't stay to watch the oven drying since there are no windows.  Instead we left and will come back on Monday for the final inspections.  Between the end of the painting and Monday, all the taping and protective paper will be removed, the outside accessories (TV, awnings, stairs, etc.) will be added, and then it will be bubble tested once more before going into the rain booth.  

So when we see it on Monday, we should be seeing the final product!  We have decided to name the RV "Kelvin" in honor of the supervisor and team that built it.  There was no easy way to include everyone's name in the RV name, so we picked their supervisor as the namesake!

Tuesday, April 24, 2018

From Catepillar to Chrysalis

Last week we watched a zillion parts all come together to make our RV.  It looked like a gray slug or maybe a caterpillar.  Everything on it worked on the inside, but it really wasn't nice and shiny on the outside.

This week began the process to transform the outside.  Yesterday, it went through the wash bay and then four sanding stations.  We didn't go to watch that as sanding is a messy business.  So when we caught up with the RV, it was being prepped for the base coat.


Here you can see the masking tape covering the various parts that are not to be painted.  This is just before it enters the first bay to be painted.


Now it is being given a couple of coats of primer.  There are 4 painters in the paint bay  The room is sealed off and fresh air is pumped up through a grate in the floor.  It is sucked out of the room from a system in the ceiling.  


The four painters in this room are all wearing protective suits and special soft helmets with clear visors.  The paint guns are all driven from air compressors which also pump air into the helmets for breathing.


Above is what it looked like after the first primer coat.  Almost the beginning of a camo paint job.


Now the painters are applying the first of four base coats.  It is amazing to watch the color fill in with each coat.  Instead of putting it on too thick and worrying about runs, they do four full coats whenever they paint anything!


Now the base color is on (it is a shade of white).  It looks shiny but it will dry to a flat.  After the painters finish at this station, they turn up the heat and bake the paint on.


Here is what it looks like with the base coat.


Now comes the interesting part.  An army of ladies (we counted 9 at one time) attack the task of laying out the stripes.  Long rolls of vinyl are created with the pattern cutout.  So where the vinyl is, the base color will remain.  Where there is no vinyl, there will be a stripe of a color.  They carefully place the vinyl template on the side of the RV and then do it again for the next 3 layers.  They do the same to the front and back. 


When they peel off the backing, the vinyl remains.


There are a lot of uneven edges, like where slides are, or windows, or handles, etc.  These are masked off with green tape to continue the stripe.  It is really almost an art form to watch the team change an all white whale into a green and yellow striped RV.


Now the color black is being sprayed onto the stripes that will be black.  Naturally they are doing 4 coats!


When they are done painting the black, they put paper over the area they just painted and use tape to hold it there.  That way when they paint the next color, it won't ruin what they just painted.


Now they are painting four coats of a greyish color.  When they are done, they will use tape and paper to protect that color too.


Lastly, they add the 4th color which is a deep mahogany.  That color has a good amount of area to cover, so it takes a bit more time to apply all the coats.


They rolled it out of the painting bay just before quitting time.  Looks kind of ugly at this point. Tomorrow morning, another army of workers will carefully remove all the tape and vinyl to reveal our butterfly.  But tonight it is a chrysalis incubating before the transformation.

After they remove the tape tomorrow morning, it will go to another paint bay for stripe repair.  They carefully go over all the stripes and flag any areas needing touch ups.  They start tomorrow at 6am and we are staying 25 miles away.  Plus I have developed a cold these last few days and Carol is a day or two behind me with the cold.  So we will go over after we get up and check out of this hotel.  We will stop by the paint facility to see how it looks and get some pics to share.

Then it gets several coats of clear paint to make it nice and shiny.  After that, it gets baked and then taken back to the Red Bay factory for the addition of the final accessories like the awnings, trim pieces, etc.  Early next week it has a final inspection which we will attend on Monday and Tuesday before leaving for home.

Friday, April 20, 2018

Meeting the Queen of Paint

This afternoon we went over to Belmont to tour the paint shop.  It is in Mississippi, about 8 miles from Red Bay.  This place is huge!  It has at least 12 paint booths that I saw.  There is not guided tour...the guard gave us the overall layout and turned us loose.  So we wandered around on our own.  The stations we saw were not in any order, but here goes....


This RV was in a booth getting ready for some kind of paint.  It may have been clear coating.


These ladies appeared to be doing some inspection of the paint and putting on yellow masking tape where there were problems.


These guys in space suits are doing actual painting.  We were able to see them through the window in the booth.


This RV has just finished up in the "Super Clear Coat" booth.


Here is a rig all taped up and ready to go in to get the base coat.  From what I understood, the base coat is always white.


This is another rig being inspected.


Hard to see these guys painting.  It appeared that there was a lot of spray in the air, but I think that was just on the window I was looking through.


Here some workers are applying tape for the next set of stripes to be painted.


It appeared that there was some stripes being laid out on this rig.


Here is one that is getting ready for painting a level of stripes.


We were warned by the guard that there could be a lot of fumes in the air.  But there weren't really...and I suspect the reason is these huge pipes that pull air out of the booths and send it outside.


I overheard one worker scheduling the above rig for clear coating.  Fairly intricate art work on these.


For an extra few thousand dollars, they will continue the stripes on your slide walls too!  We didn't see the need for this option.


This bay was prepped to receive a coach and as we were walking away, one drove right in and they closed the doors.


This appeared to be some kind of spray or wash area.  Didn't see much happening here.

Outside of the plant there is a large parking lot.  This is where the rigs that are ready for delivery are stored until a driver can deliver them.  They are short of drivers, so if you need a job and have always wanted to drive really expensive vehicles,  this might be the place for you!

We were very fortunate to have done this visit to the paint shop when we did.  We saw that the color white that we saw on our RV paint scheme really wasn't white - it was "Chocolate White" which to me meant light tan.  We met with Melissa, the Queen of Paint to talk about this.  She said it was a white, but not pure white.  We looked into changing just that one color and she made up some change sheets, but we would have to take them over to the main sales office for costing and approval.  Basically, we wanted to use the white from another paint scheme.  Why that would cost money since they normally use that paint, is beyond me.

We went out into the pre-delivery storage area and found our color scheme (Maroon Coral) on one rig and saw an alternative on the other (White Mahogany).  Turned out we liked the White Mahogany better.  We went over to the sales office back in Red Bay and checked a few rigs there to make double sure....then went in and changed it with the sales office.

If you are buying one of the rigs new, I strongly suggest that if at all possible, you come to the paint shop in Belmont (8 miles from Red Bay) and actually see the color scheme you have ordered.  As the Queen of Paint said, the paper version does not do it justice.  You need to see it on a rig in the sun to be sure.  I know we would have been unhappy with our original choice and if we didn't come to Belmont, we would not have had the chance to get it corrected!

Final Production Day

Today was the final production day for our new RV.  Station 7 involved putting on the compartment doors and inspections.  When we arrived at 6am, we found that all the compartment doors for one side were already installed.  During our time at this station, inspectors worked their way through the unit and all around the outside to look for things wrong.  I had thought that the production team had done a great job, but I was wrong.  There were definitely some really small things that they found that I never would have.

When they find something, they put some yellow or blue masking tape near it and note it on an inspection sheet.  There really were only about 15 items on the sheet, and I was told that it was a relatively small list.  Every door, cabinet, drawer, whatever was tested for alignment.


This is a closeup of one inspector looking at an outside compartment.  He spent about 1 minute or two at each compartment with his light and took pictures.


Here is a picture of the side where the doors were already installed and being inspected.


The other side's doors were placed and ready to install.  The first side was actually done after work yesterday.  Tiffin has a backlog of orders and they are letting the workers have overtime to keep up.


All three inside TVs were checked and working.  The outside TV will be installed after painting.


Here the front engine cover is installed.  Then we move on to station 8.
 

At this station, the bubble testing happens.  What they do is seal up the unit (doors & windows closed, all intentional openings to be used later are sealed with tape).  Then a worker is pushed around on this set of stairs and she squirts soapy water on all seams, joints, windows, and anywhere else needed.  


We actually had two areas of bubbles.  One was on top of the roof and I could not get pictures of it.  Apparently a seam had a leak.  They redid the seam and caulked it.  No more bubbles there.  The second set of bubbles was outside the kitchen window.  This was an easy fix - just tighten the screws!


Everything noted on the inspection report gets fixed here.  Some of the items needing fixing were:  The outlets over the sink were not powering up, one of the spyder switch control panels had no power, some cabinet doors needed fixing, etc.  I even helped the inspector and found that the ceiling fan only worked in one direction.  All these and others were fixed.


Here James, who installed our flooring back on Monday before the first production station, comes in to fix a problem.  Apparently the slide had pushed out two tiles.  He was able to easily correct the problem.


Had a chance to even test the fireplace!  It warmed up nicely!


One of the last items fixed outside was a defect in the siding.  A worker came over and fixed it and then sanded it down.  Every item on the defect list was fixed by the production team before the unit left the main production floor!


This is a picture of Kelvin, the supervisor of our production team.  He has 26 workers under him that cover 8 stations.  There are actually two lines making gas coaches.  The normal one is called the "gas line" and I believe it has 19 stations.  The stations there do less work and the workers are more specialized so the units move through the stations quicker.  In Kelvin's team, they take longer at each station and each worker can work on more than one area.  It gives him great flexibility and his troops really take their time and do a good job.  The production line is officially called the "Breeze Line", but since there were not that many Breezes to make, they make mostly gas coaches too.  We really like Kelvin and his team.

Kelvin actually responded to two items I had seen.  One was the bedroom vanity countertop which I thought should have some trim around it.  He agreed and arranged for one of the workers to take some scraps from the counter top and make a mini backsplash.  It really looks classy.  He also added some trim around a door frame to give it some class!  He takes all the time needed to answer questions or concerns.


This is Diane, the parts lady.  She is the nicest person you would ever meet (except for the rest of the team who are equally nice!).  She always has time for your questions too.  And if she can't help you directly, she knows who can and gets them involved.

Overall, I am so glad we came here to watch our unit being built.  It was a great education for me as far as how things are installed should I ever want to make changes (and I have already identified a few) and I think it helped the workers seeing who the customer is.  I actually think they did a better job just because we were there watching and interacting.  (Though I suppose they would to a great job anyway!).

Once Station 8 was complete, it was time for it to leave the production building and go be insulated underneath.  Then it is off to the paint shop which is over in Belmont, MS, about 8 miles away.  It comes out battle ship gray!

Be sure to turn up the sound.......


Soon I will be posting our visit to the paint shop and will explain how it saved us from a major problem!